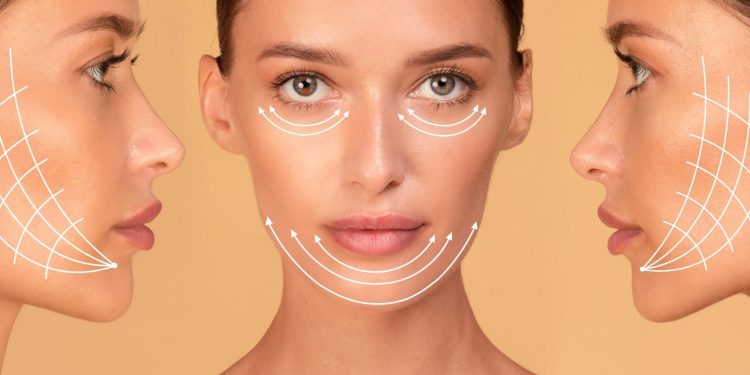
Contouring can transform your look in just a few brush strokes, from chiselled cheekbones to a slimmed-down nose. But perfecting it takes hours, days, weeks, and even months of practice and failure. So, where do you begin?
We’ll share five expert tips to take your contouring game to the next level of art and beauty. So, grab your makeup kit and get ready to sculpt and define like a pro!
1. Choose the Right Shade
Choosing the right shade ensures your contour looks natural, flattering, and seamlessly blended. Conversely, the wrong shade may look like you have mud smeared on your face and you’re wearing a mask.
For instance, using a contour shade that’s too dark for your skin tone makes your makeup look unnatural and unflattering. It also creates harsh shadows and lines that are difficult to blend, making the contour look fake. On the other hand, using a shade that’s too light for your skin creates an odd-looking stark contrast that draws attention to the areas you’re trying to downplay.
Always consider your undertones when choosing a contour shade. These underlying hues, including cool, warm, and neutral, affect your skin’s appearance. Cool undertones have a pink or blush tint, warm undertones have a yellow or golden shade, and neutral undertones have a mix of both.
You should also try shades in natural light because artificial lighting can be deceiving. What looks perfect indoors may look completely different in natural light. Try swatching different shades on your jawline or cheekbones and then step outside to see how they look in daylight.
2. Use the Right Tools
Using your fingers or the wrong brush/sponge makes your contour look streaky, patchy, or uneven, leaving you with harsh lines and shadows that look unnatural.
There are several types of contour brushes, including:
- An angled brush: Great for precise contouring as it allows you to apply the shade exactly where you want it, creating sharp, defined lines.
- A tapered brush: Perfect for blending your contour seamlessly into your skin. Its fluffy bristles help soften harsh lines and create a natural-looking finish.
- A flat brush: Ideal for contouring larger areas of your face, like the forehead and cheeks. Its flat shape lets you cover more surface area and apply your contour quickly and evenly.
When it comes to sponges, there are two types commonly used for contouring:
- A beauty sponge: Great for blending contour onto your skin. Its soft, bouncy texture creates a flawless finish and ensures your shade looks natural.
- A silicone sponge: Its non-porous surface doesn’t absorb any contour, so you use less product and get a more precise application.
3. Apply in the Right Places
Every face is different, but there are a few key areas where contouring is typically applied for a flattering effect, including the cheekbones, forehead, and jawline.
When applying contour to your cheekbones, suck in your cheeks to create a hollow, defined area. Use an angled brush to contour the area just below your cheeks, starting from the top of your ear and working downwards towards the corner of your mouth. Ensure you blend the product well, using circular motions to soften any harsh lines.
To contour your forehead, apply the shade to the temples and hairline, blending it towards the centre. This creates a shadow effect that makes your forehead appear smaller and more defined.
When contouring your jawline, apply the product just below your jawbone, blending it downwards towards your neck. This creates a more defined, chiselled jawline.
4. Layer Products for More Intense Contour
Layer cream and powder products to create a multi-dimensional look that sculpts and defines your features. Start by applying cream contour to the areas of your face where you want to create the most definition. Use a brush or sponge to blend the product well, ensuring there aren’t any harsh lines or patches of colour.
Next, apply a powder contour over the cream to intensify the definition and create a more dramatic effect. Blend the powder product using circular motions to soften any harsh lines.
Always choose products that work well together. For example, try cream products with a creamy, blendable texture and finely milled, pigmented powder products.
5. Don’t Overdo It
While contouring can be a great way to enhance your features and create a more defined look, don’t overdo it. A harsh or heavy contour looks unnatural and hides your natural beauty.
Use a light hand and only apply small amounts of product at a time, building up intensity gradually to achieve a naturally-looking contour. It’s easier to add more product than it is to remove once you apply it.
If you’re new to contouring, start with a subtle look and gradually build up your skills and intensity over time. With practice, you’ll achieve a natural-looking contour that enhances your features without overshadowing them.
Contour With Confidence
Contouring isn’t just a makeup technique but also a form of self-expression. With these five expert tips, you can enhance your natural features, boost your confidence, and create a flawless look that’s uniquely yours. So go ahead, experiment, have fun, and let your inner artist shine through your beautifully contoured face.


